Extracting Depth of Field JPG from iPhone portraits
Export DOF information captured from iPhone portrait mode as a JPG.
Overview
Humans percieve depth using binocular vision i.e in the overlapping space that both the eyes observe, our brains can estimate/perceive how far the objects are based on the difference in postion that each eye sees the object at. This is stereopsis.
This effect can be replicated by using a dual camera system to understand how far objects in a scene are located relative to the observer i.e an estimate of which objects are closer to the camera and which ones are further away.1
Modern day smartphones make use of this technique to identify and blur the background objects while keeping the subject in focus, resulting in a depth effect on the final image.
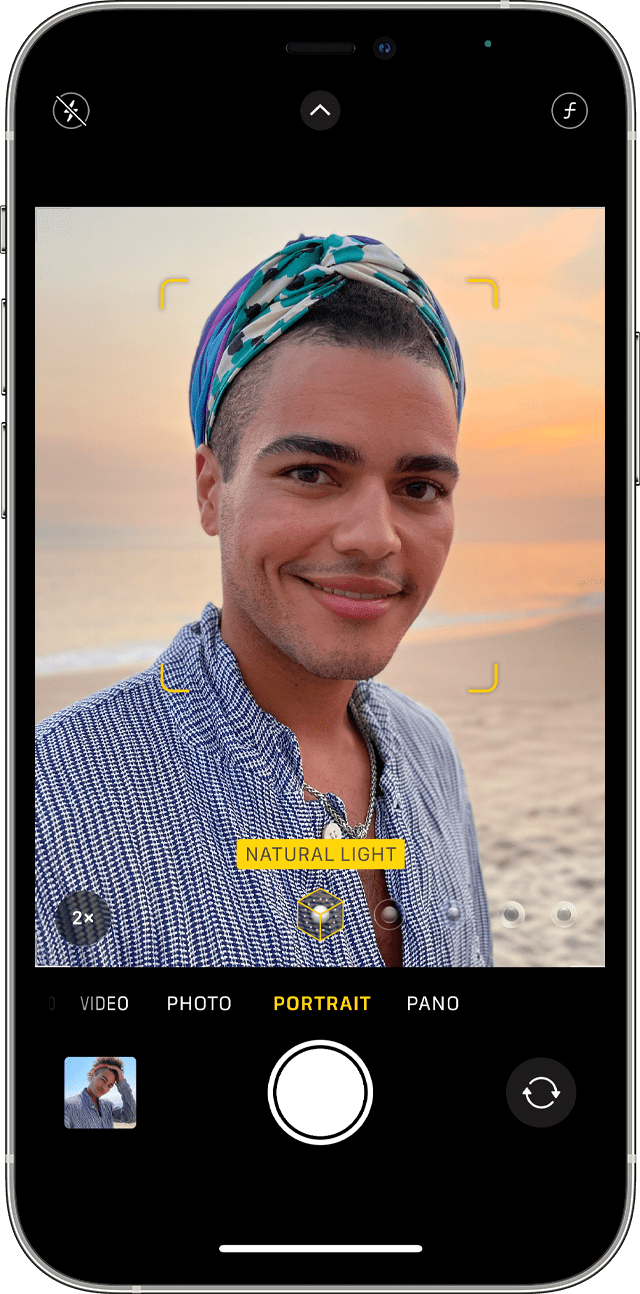
Portrait mode on an iPhone
The depth information should be stored as an additional image in the JPG file2. In case of HEIC images it would be stored in the metadata.
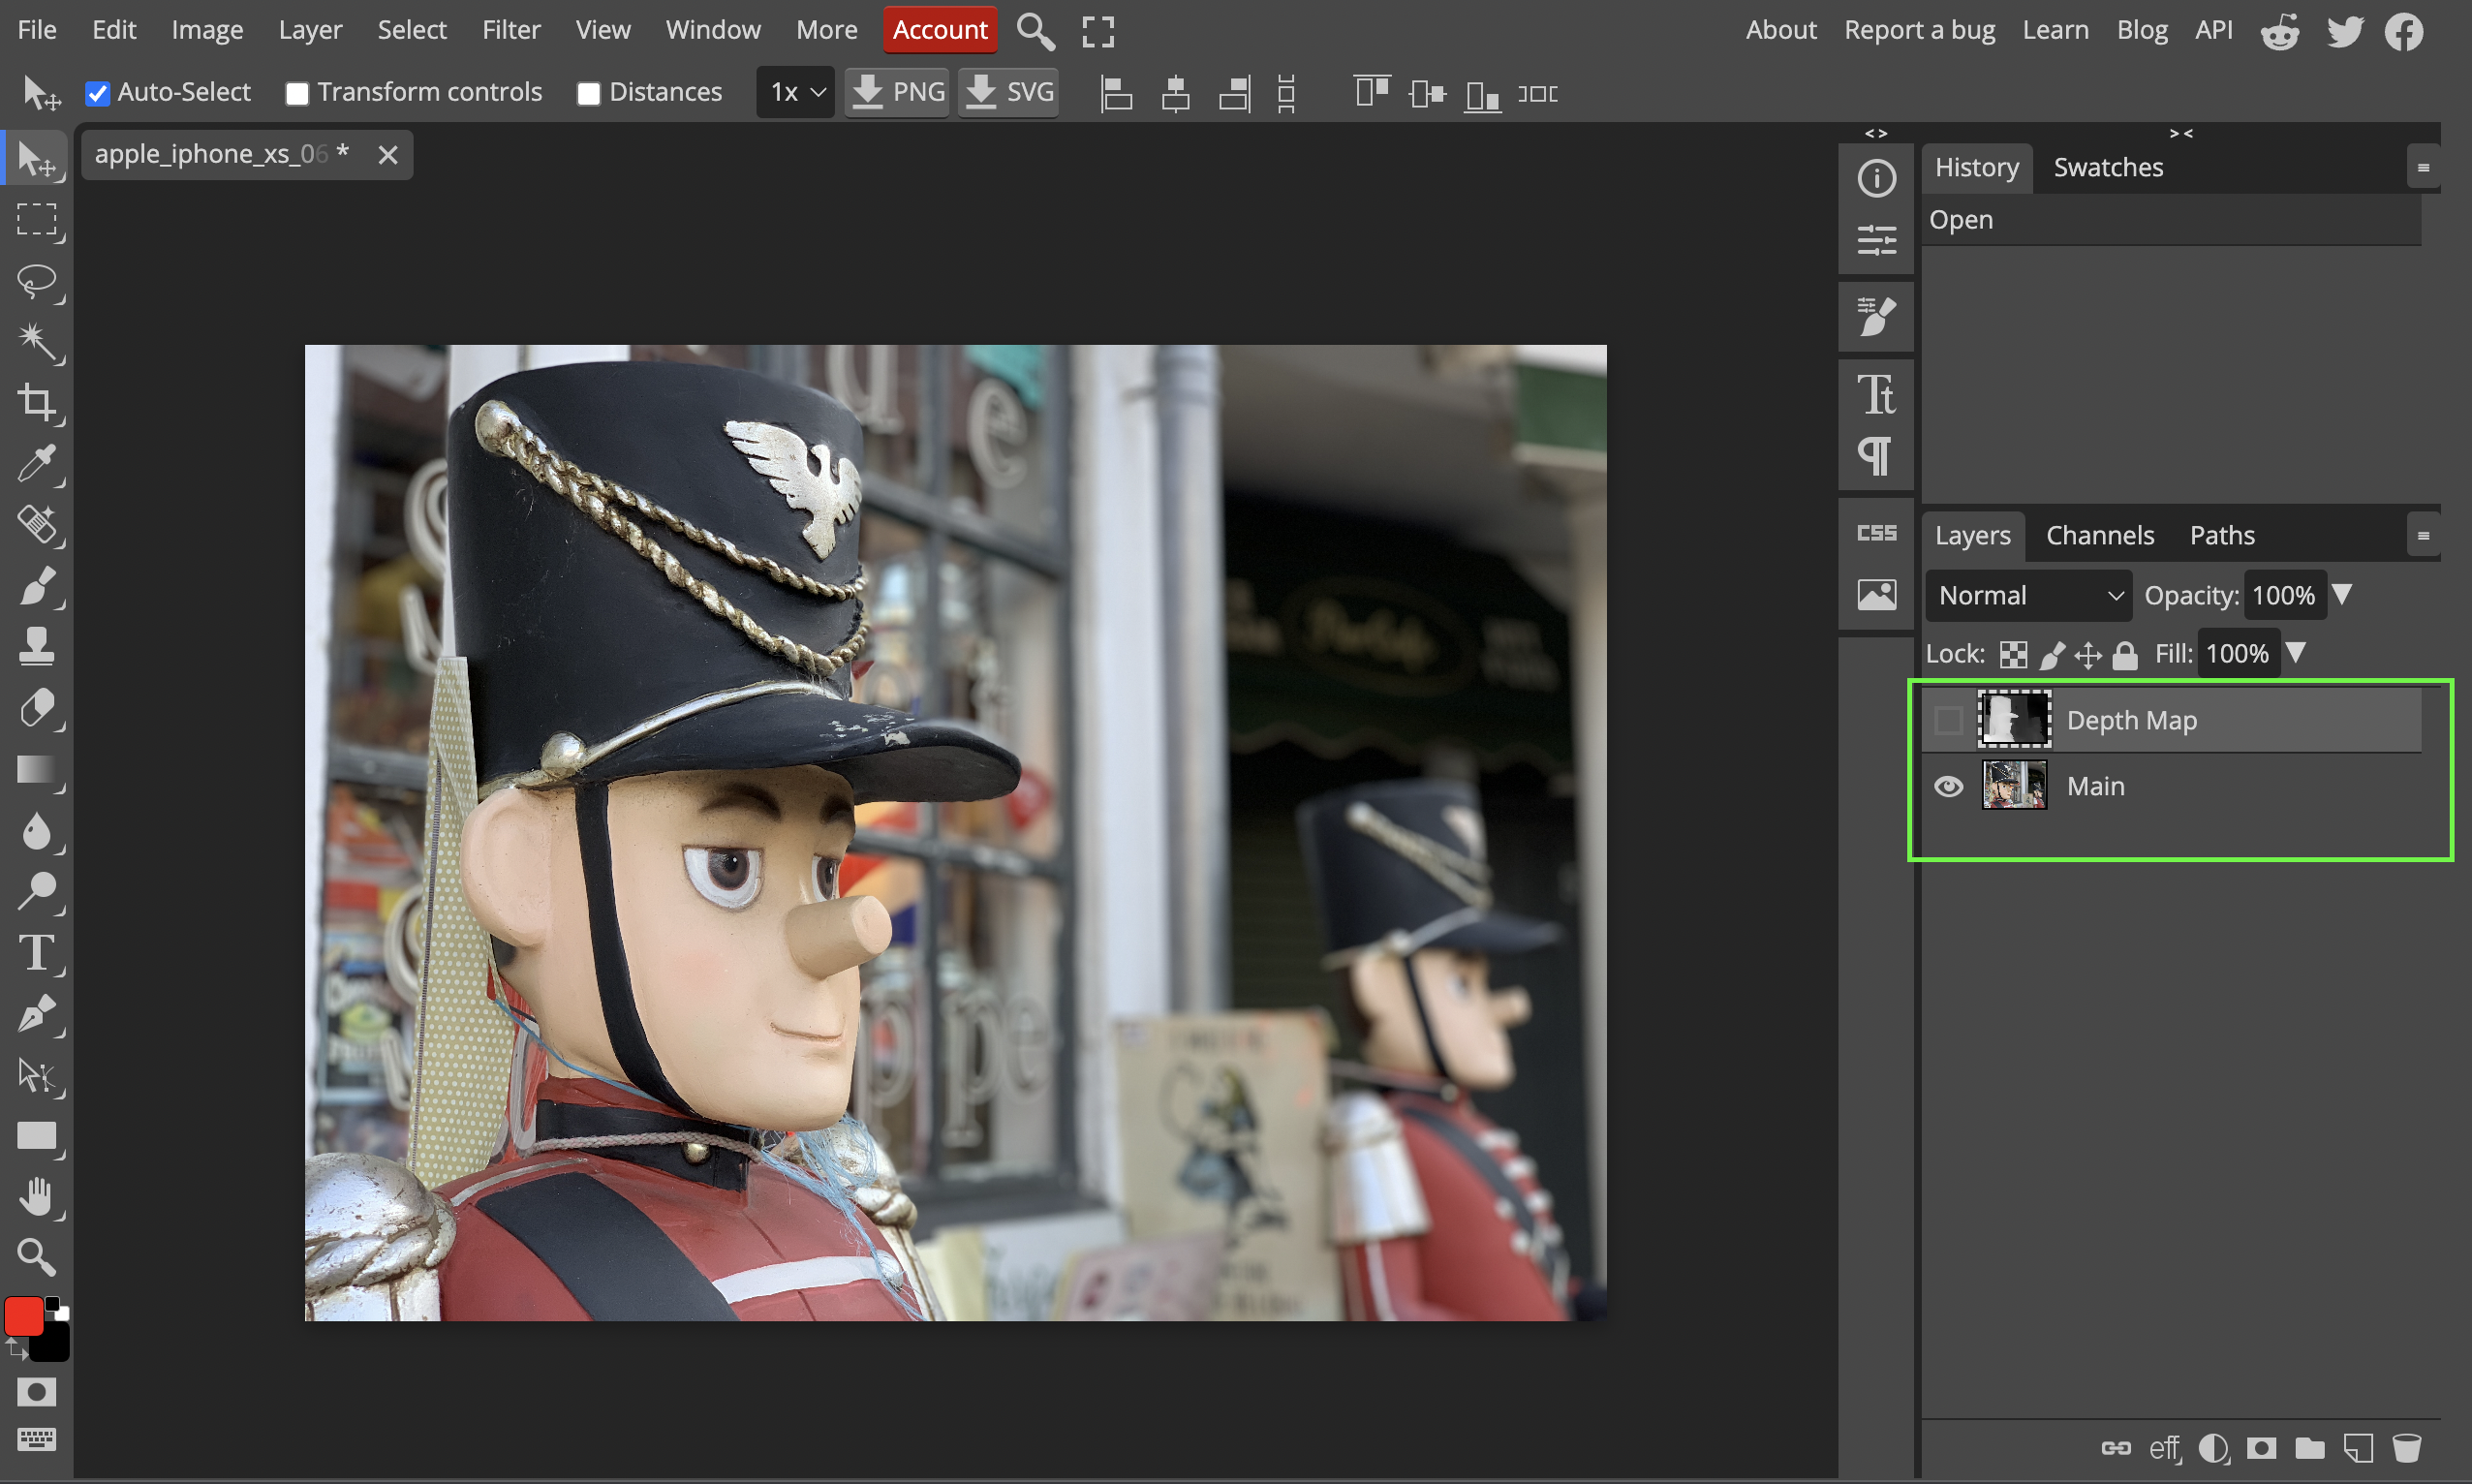
So now, the plan is to extract the depth information itself from the captured image. We’ll use Photopea to quickly check if the exported image has depth information. For reference, Photopea shows the depth information as an additional layer.
What doesn’t work
Images captured by the iPhone’s camera app by default are saved as HEIC files. Converting the HEIC to a JPG online or using the Preview utility on macOS doesn’t seem to preserve the depth information.
It doesn’t work even after setting the sharing options while moving the HEIC image as “All Data”.
What works
Directly capturing images as JPG’s
You can change the camera app settings to save images as JPG’s. Go to Settings > Camera > Formats > Camera Capture and set it to Most Compatible.

Changing the camera capture format
Copying images from Photos to Files
If you already have images captured in Portrait mode, you can export them to JPEG/JPG on your iPhone first by making a copy to the Files app.
To do this, simply long press on the picture in your Photos, select copy. Now open Files, go to your desired folder and long press to bring up the options. Select paste and the saved image should be in the JPEG format.
Saving a photo as a JPEG
Final Result
The final image and its depth map visualized on Photopea:-

The original image
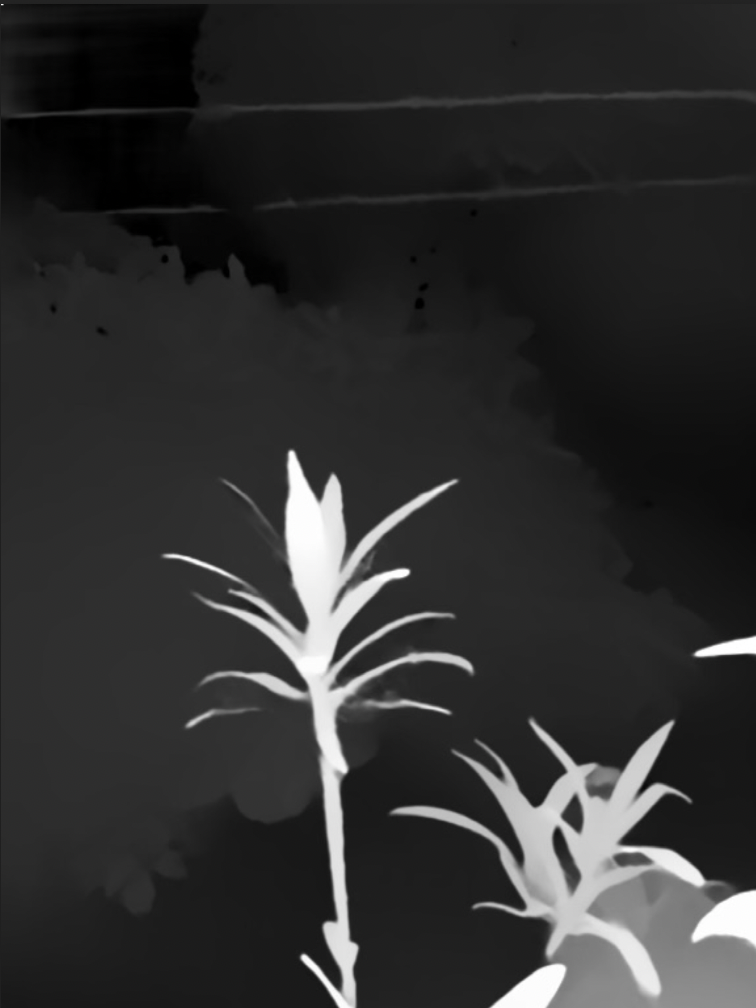
The depth map
The depth map is a grayscale image where the brightness corresponds inversely to the distance from the camera. So the brightest objects are the closest to the camera.
Strictly speaking this would be called a disparity map where disparity is inversely related to distance from the camera.
A depth map describes at each pixel the distance to an object, in meters.
A disparity map describes normalized shift values for use in comparing two images. The value for each pixel in the map is in units of 1/meters: (pixelShift / (pixelFocalLength * baselineInMeters)).3
In an upcoming blog post let’s check out how this info can be read directly using Swift and we’ll look at some interesting applications of this.